Camping Feels

30.01.2017
CAMPING FEELS.

![]()

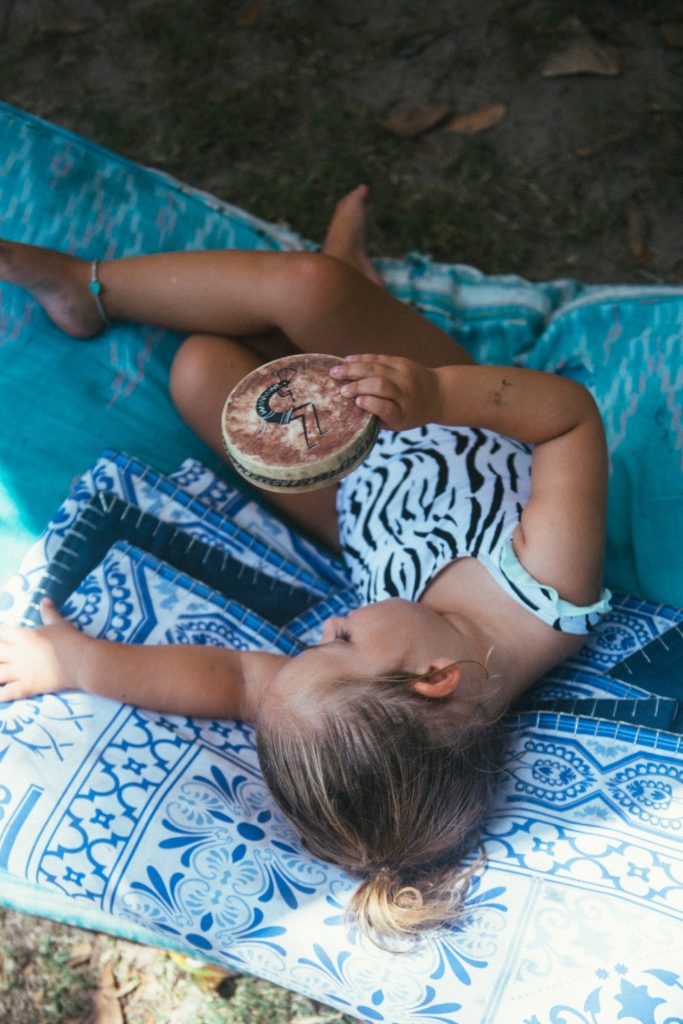

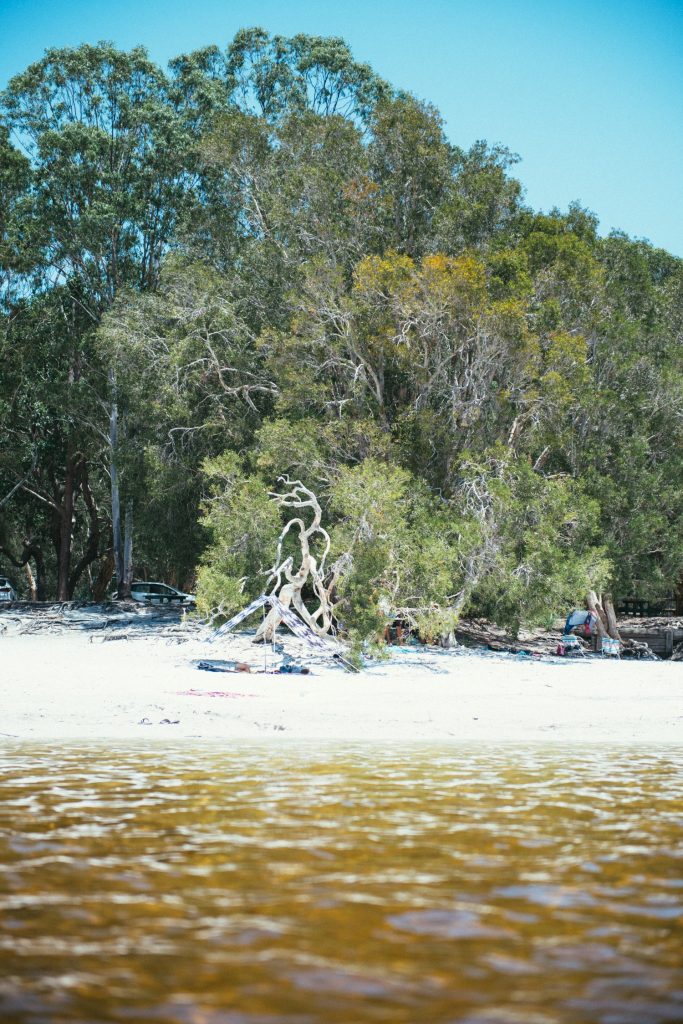

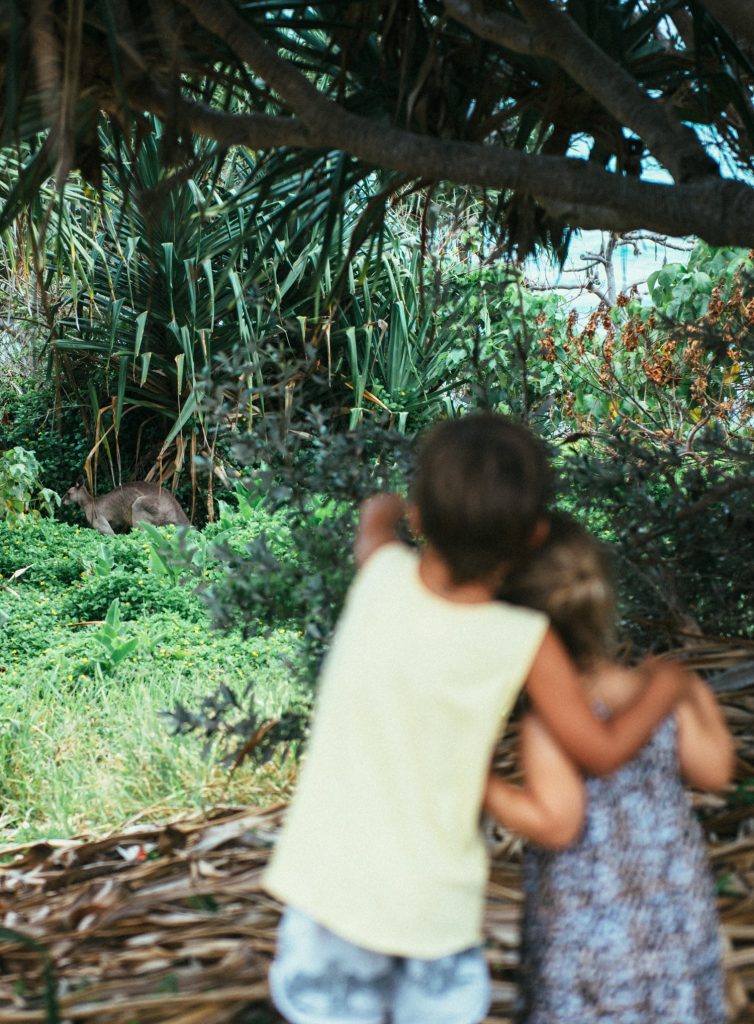
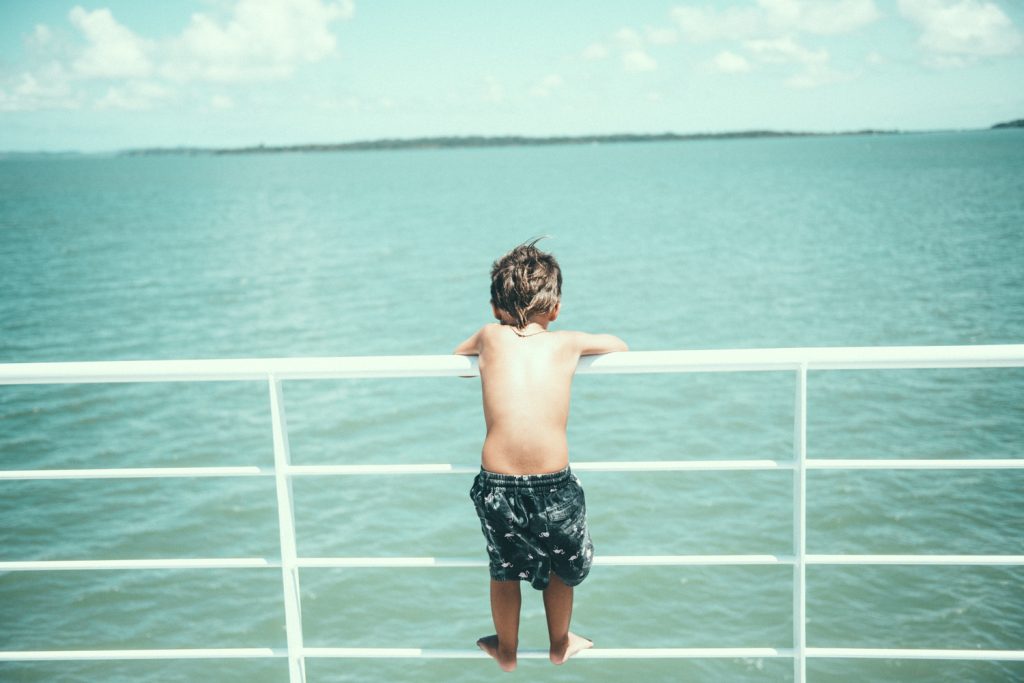
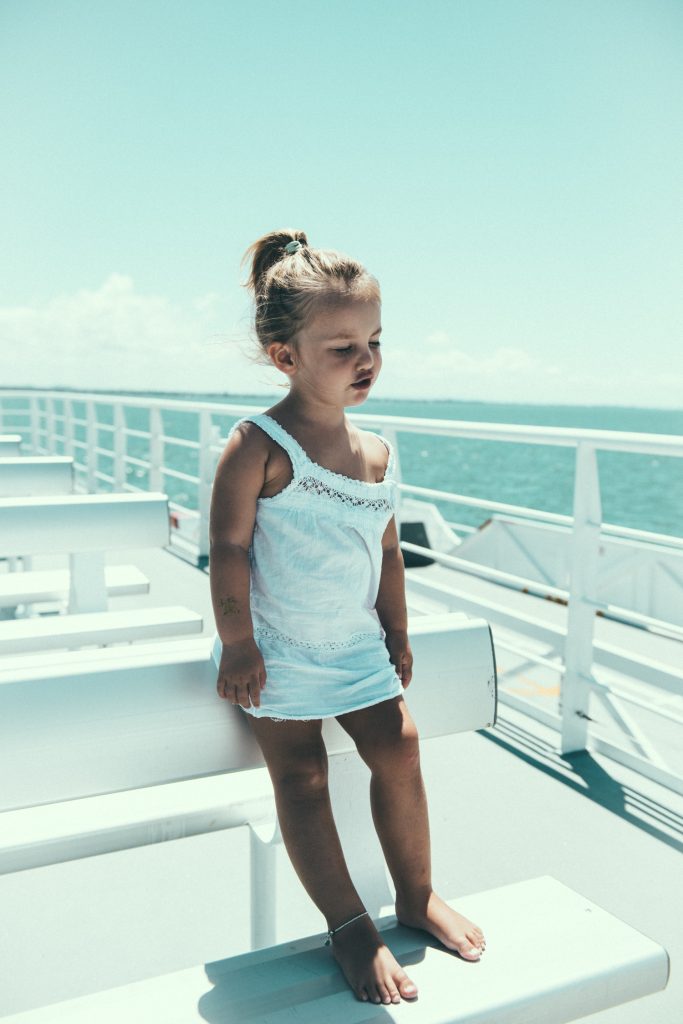
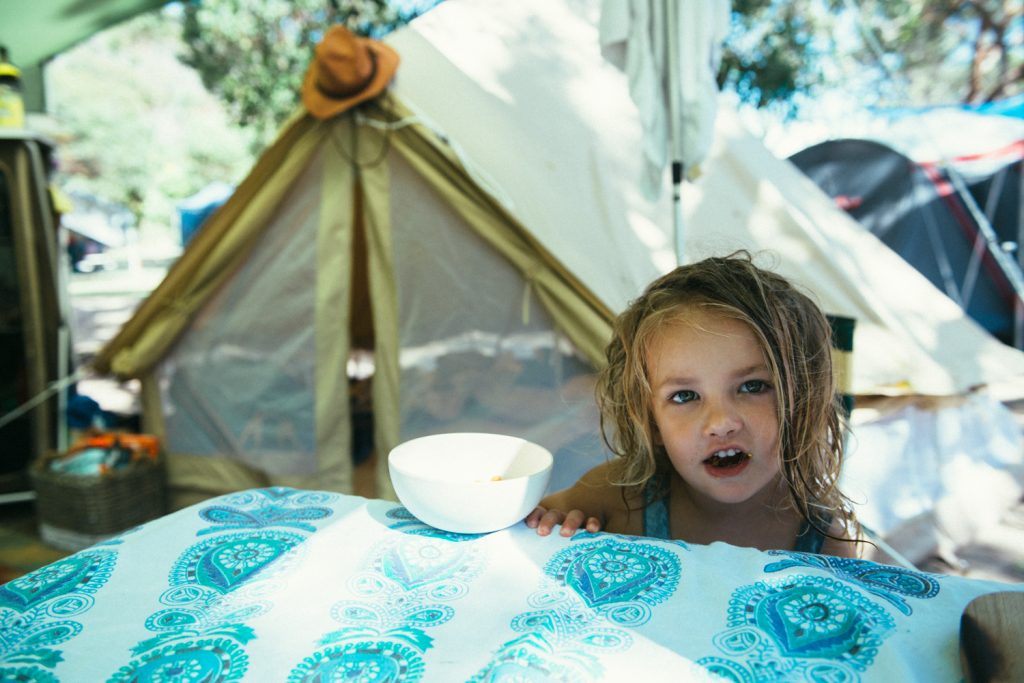
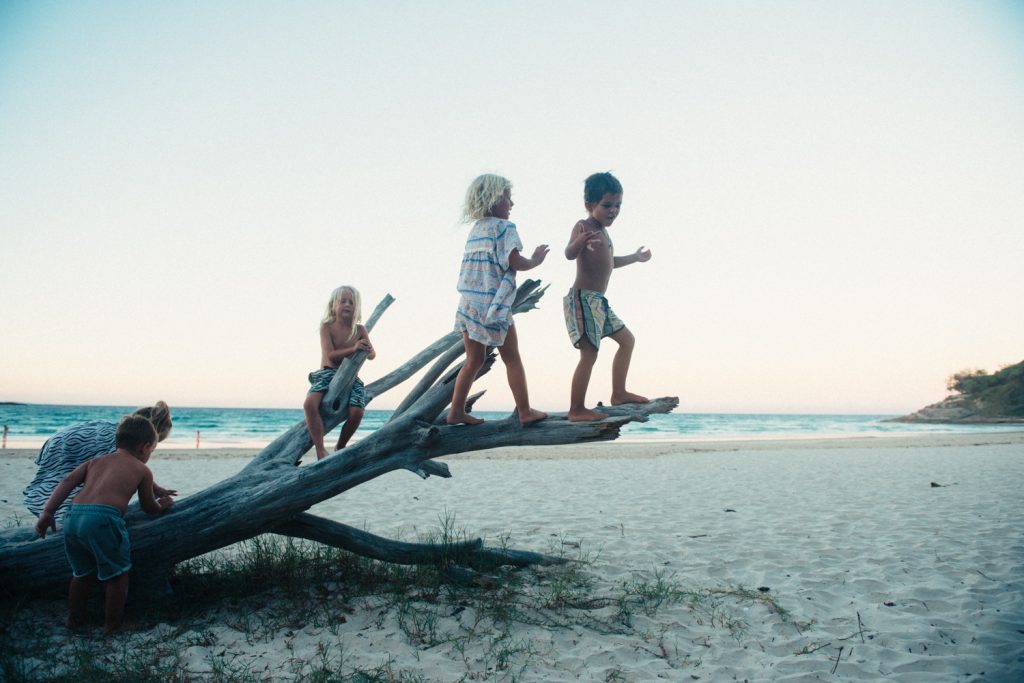
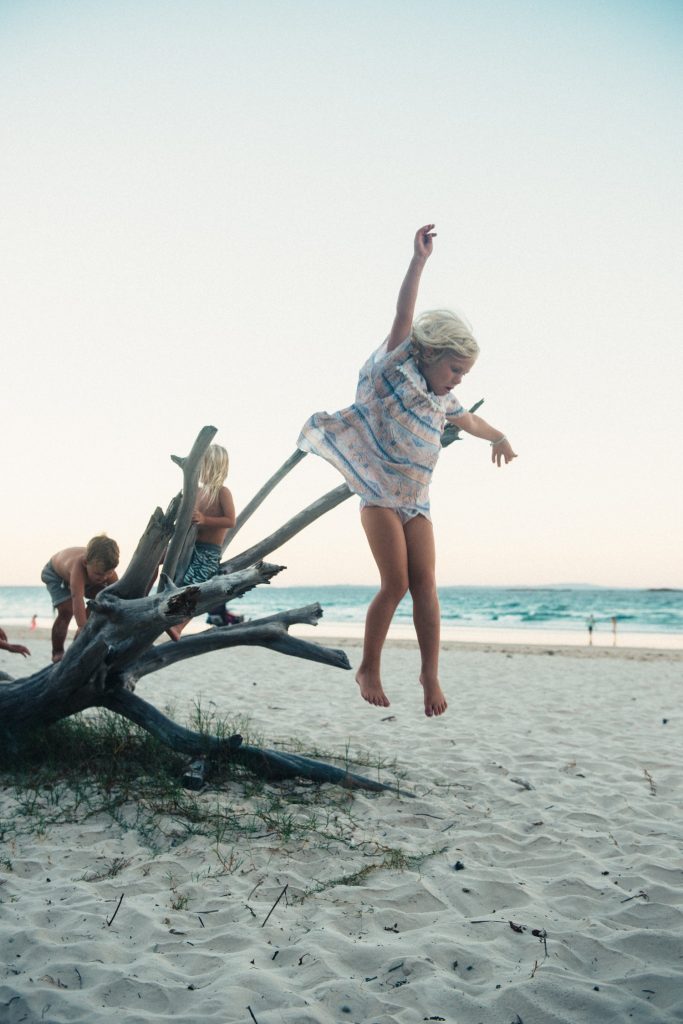
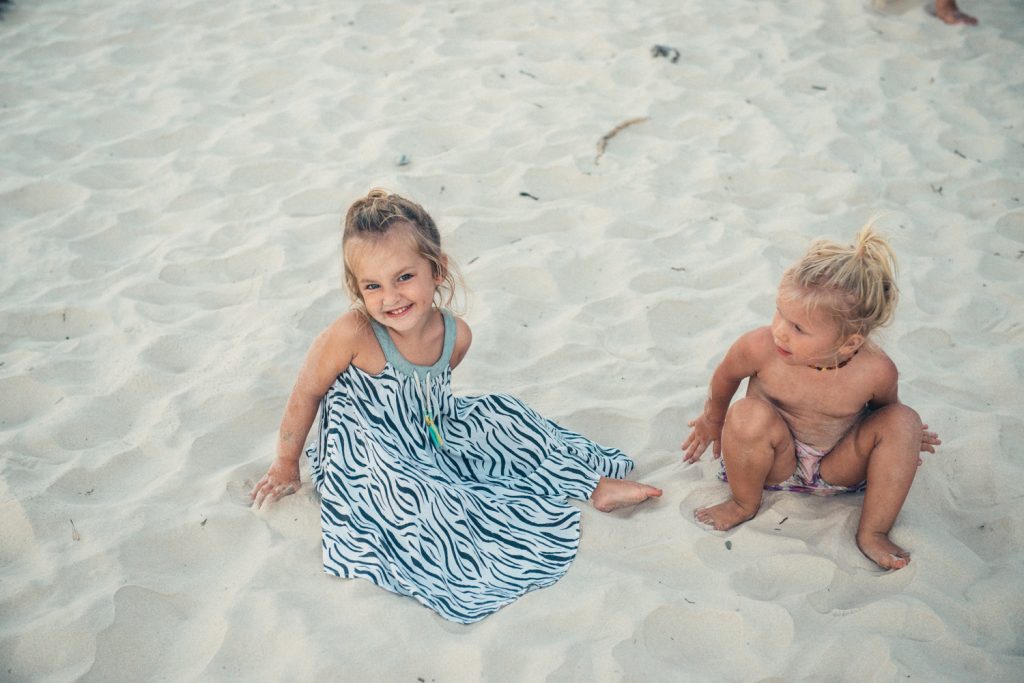
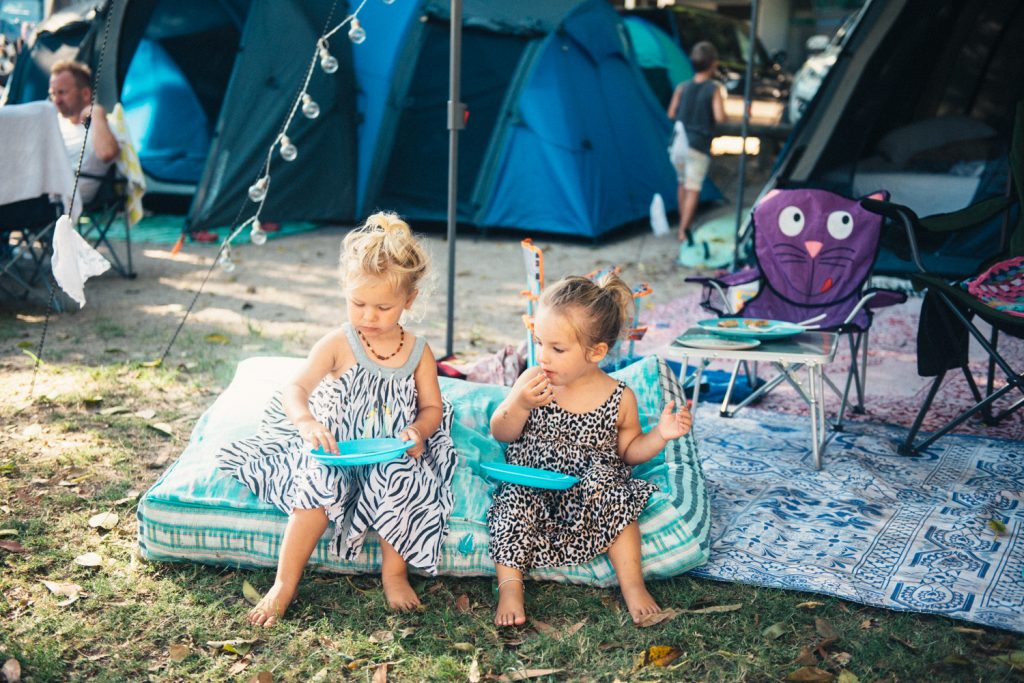
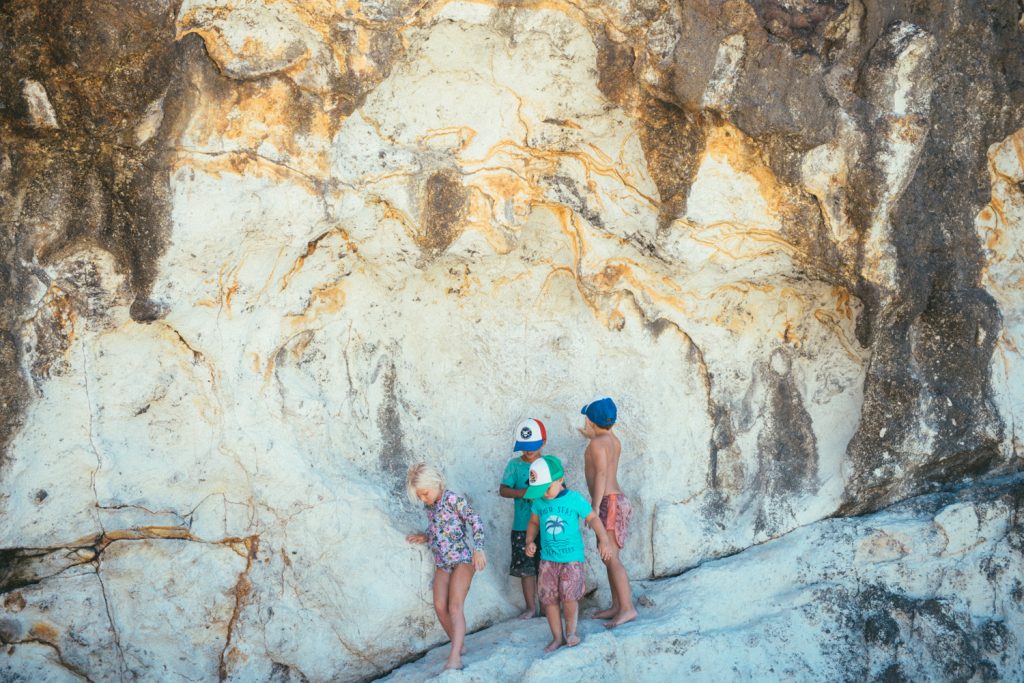
Those Camping Feels. First inaugural Family camping trip to North Stradbroke Island.
Images by my husband Johnny Abegg.
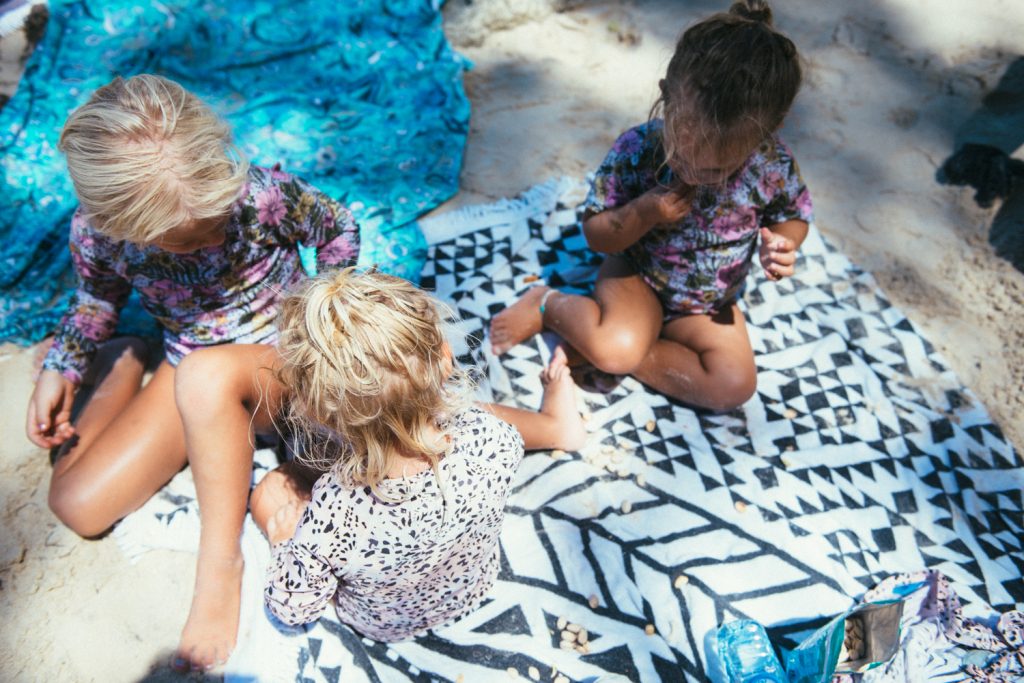
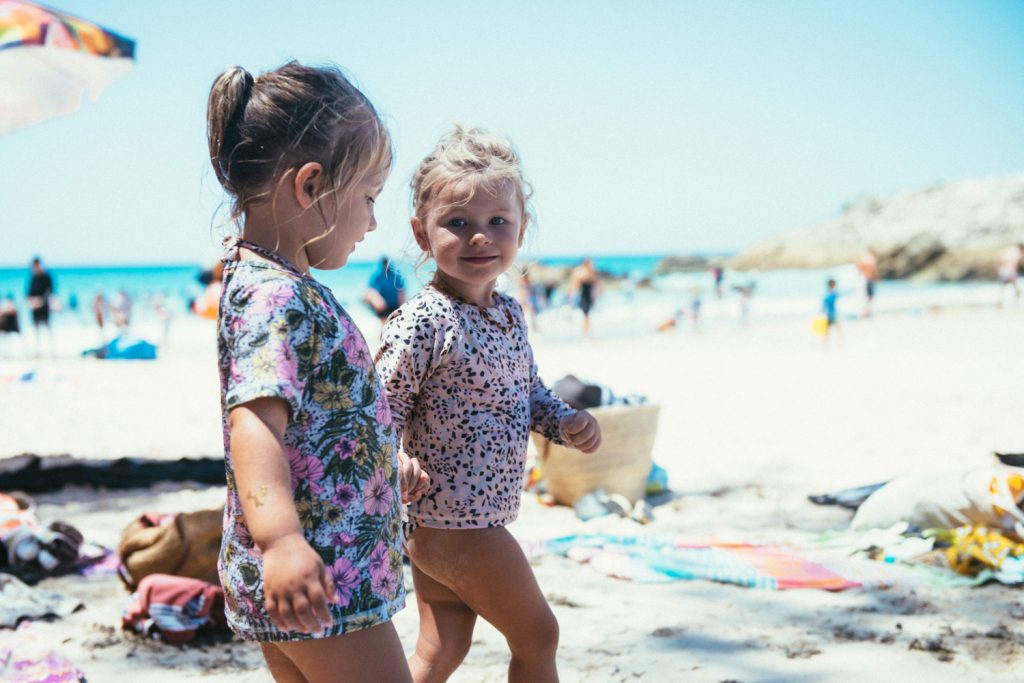
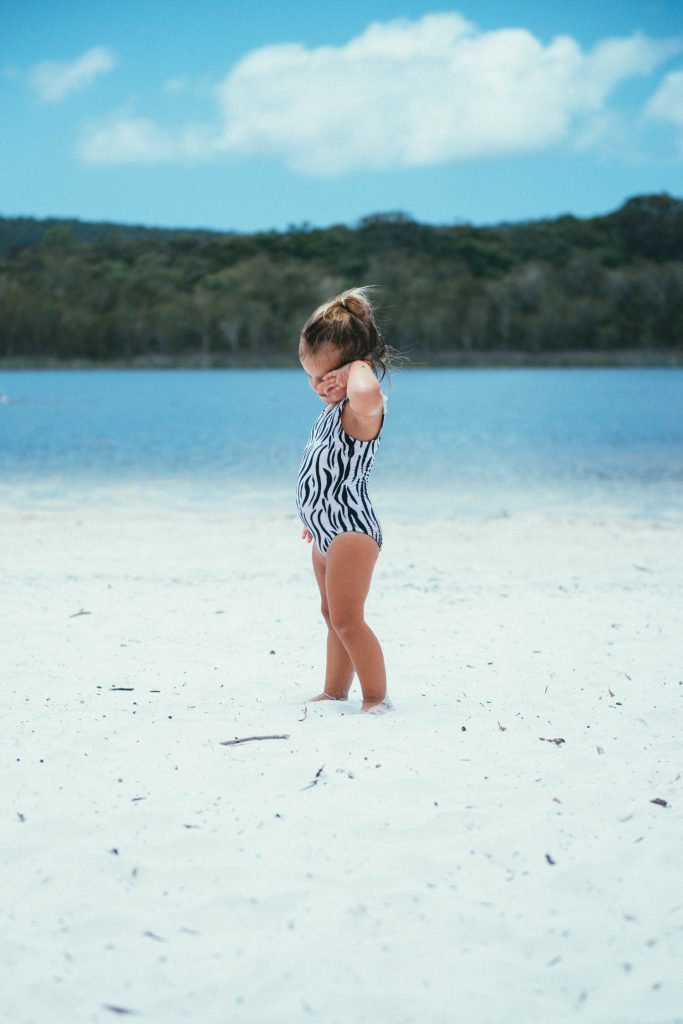
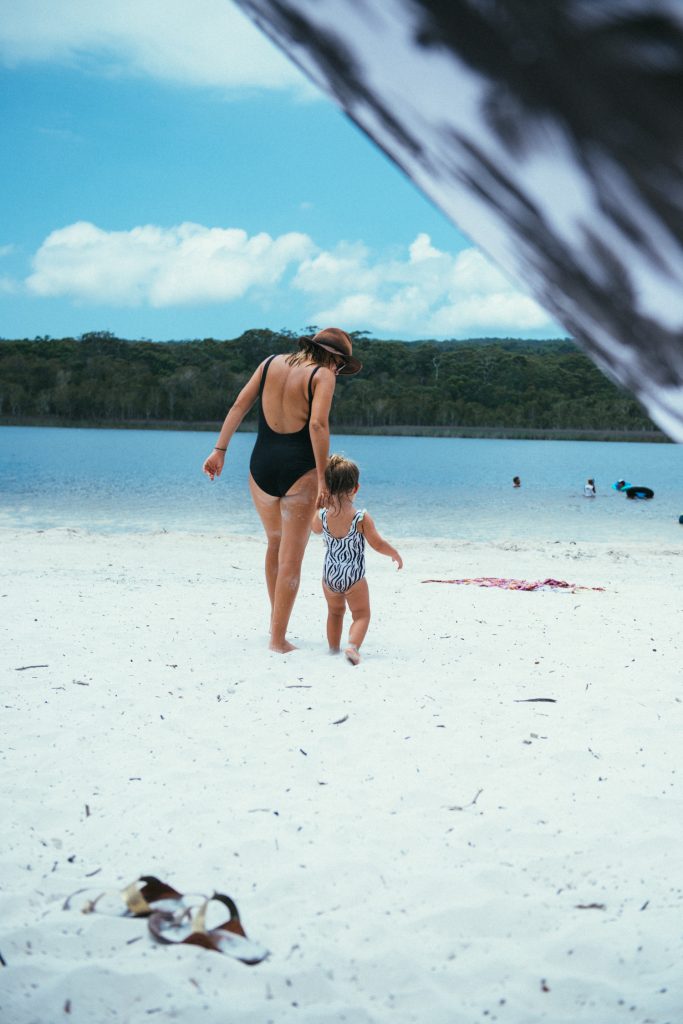
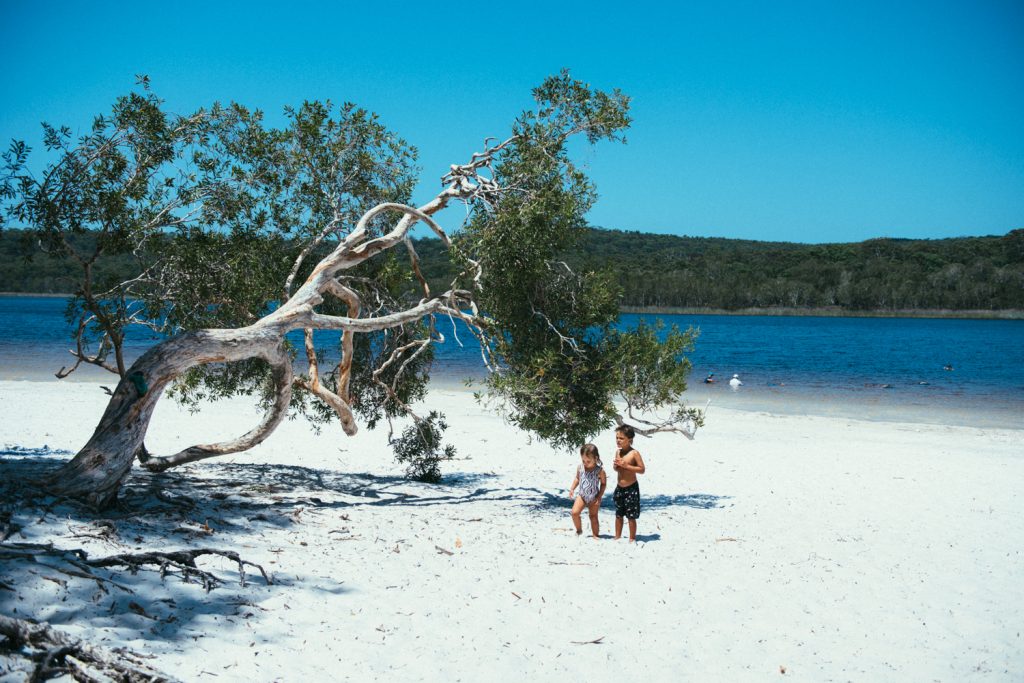
Kids wear a few of our fave local labels, mostly Children of the Tribe (as well as Bandikoot & 6 White Horses)
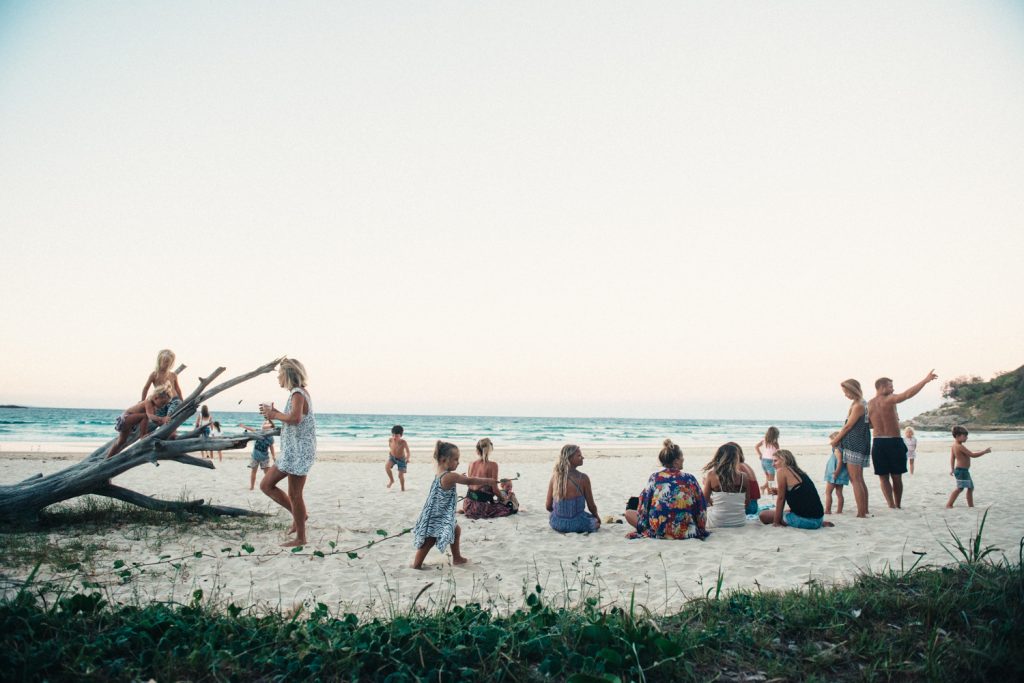
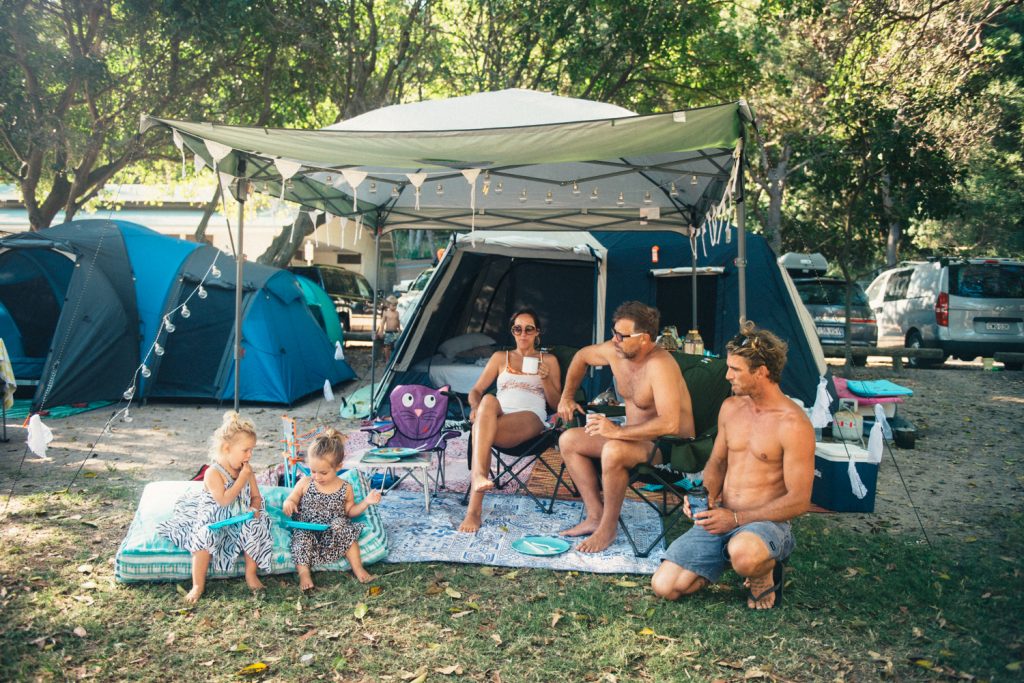
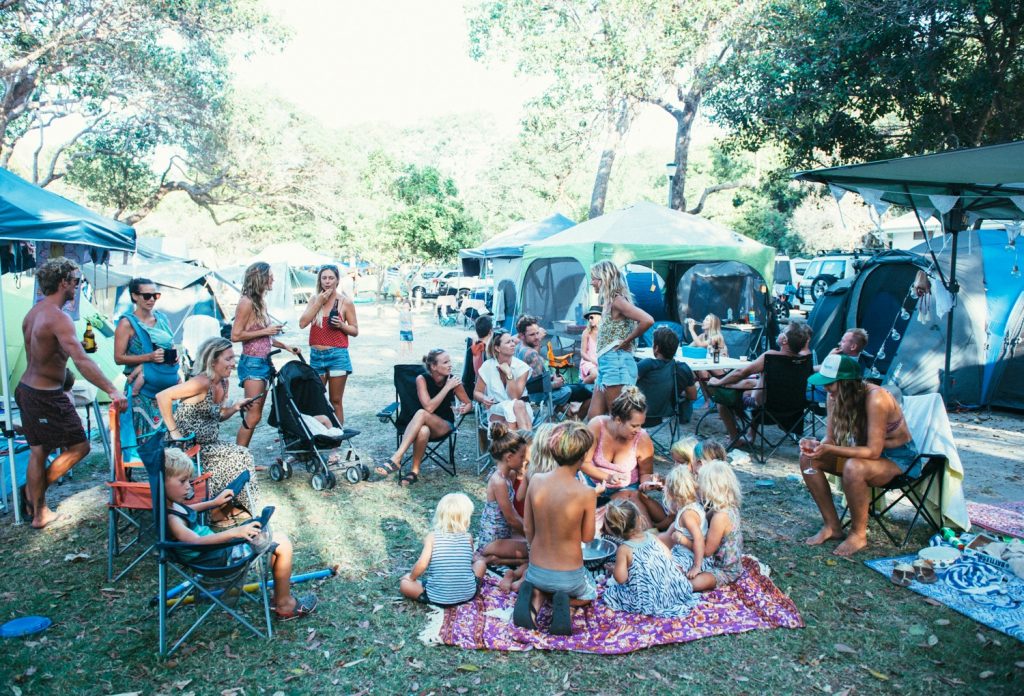
This was my first family camping trip since my parents took my sisters and I to the Howqua River in Victoria when we were little. So much has changed, and nothing has changed. On one hand, we now have cordless bluetooth speakers for music on the beach, but on the other hand it’s still Bob Dylan and Van Morrison being played, and the guitar still gets passed around the camp-chair circle.
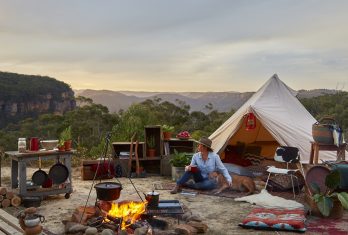
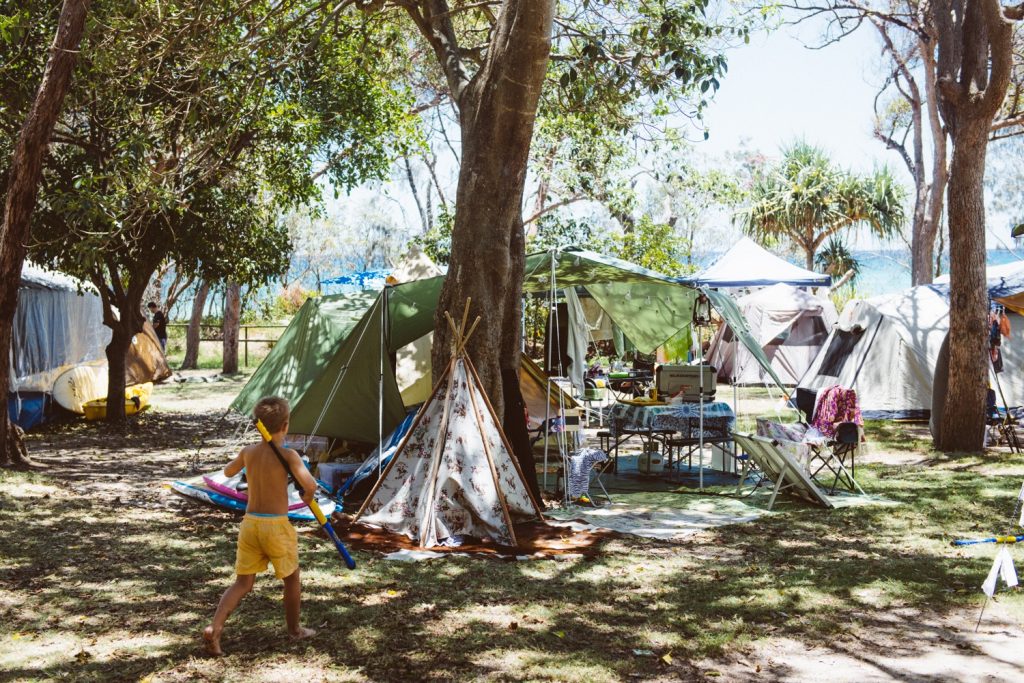
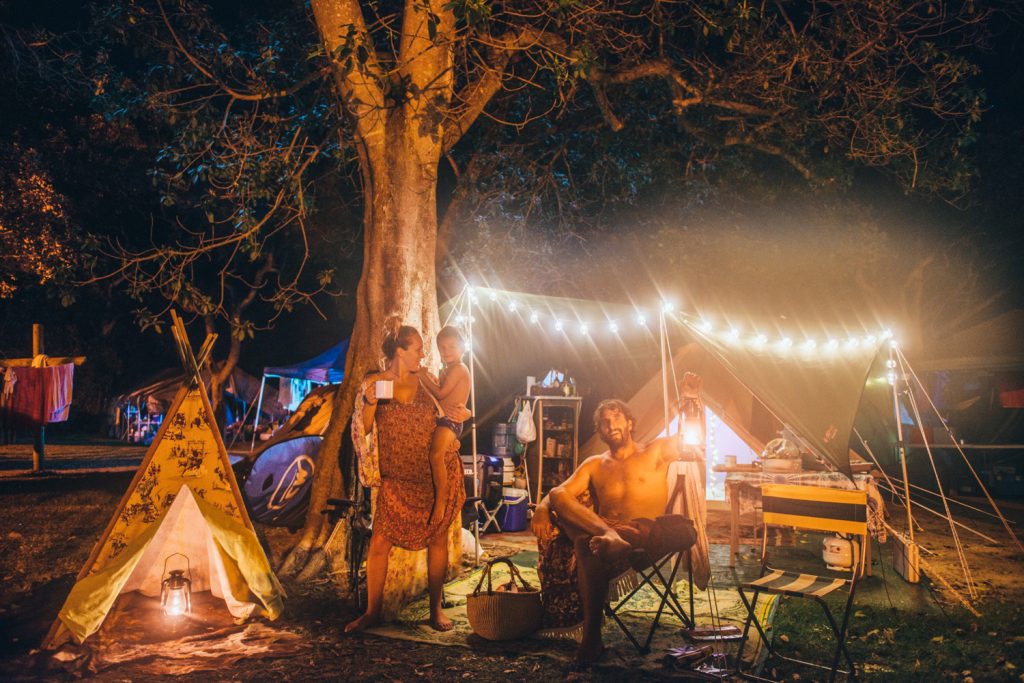
I wanted to post this little travel diary of our camping mission up to North Stradbroke Island because I wanted to show you its not all glamping and bell-tents and OTT Spell spreads. (It’s very often baked beans on a campstove and kids muddy foot prints all over your blow up mattress – I mean, when you’re carrying all your belongings into a campsight you need to choose ease and practicality over aesthetics… BUT that’s not to say that your camp-sight has to be fucking ugly.
Because I haven’t been camping since the kids were born we had no gear whatsoever, and I just assumed we’d head off to your generically boring Tents’r’Us camping store and get some god-ugly tent and annex. But the day before we were set to hit Ballina’s only camping store a beautiful (and uber stylish) friend asked me “so, Lizzy, what do you want your campsight to look like?” and I was like “Ohhh! Hey wait a minute?! You’re right! What DO I want my campsight to look like???!!!” And of course when I started to drill down into it (see my Pinterest board here!) I realised there was no reason I couldn’t let the aesthetics of my professional life flow into the practicality of my camping life…
So I googled around until I found a Bell Tent I was happy with (in Oz check Breathe Bell Tents here) which was couriered to me within a few days, I found another stunning camping store and went a bit bloody nuts with my credit card… (coffee kit here!) Unfortunately, it didn’t make it to me in time before we left to go camping but can’t wait to take it with us next time! But the main thing that really helped make our camping trip that extra bit beautiful was making sure we had a fully stocked ‘lighting/ambience’ box.
I’ve listed a camping decisions that really helped turn our humble little campsite into a little pocket of home. As well as a few things I didn’t buy but are definitely top of my wish list:
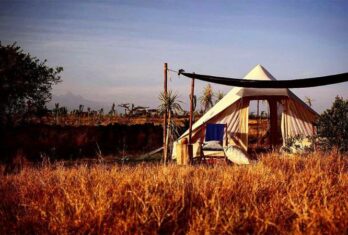
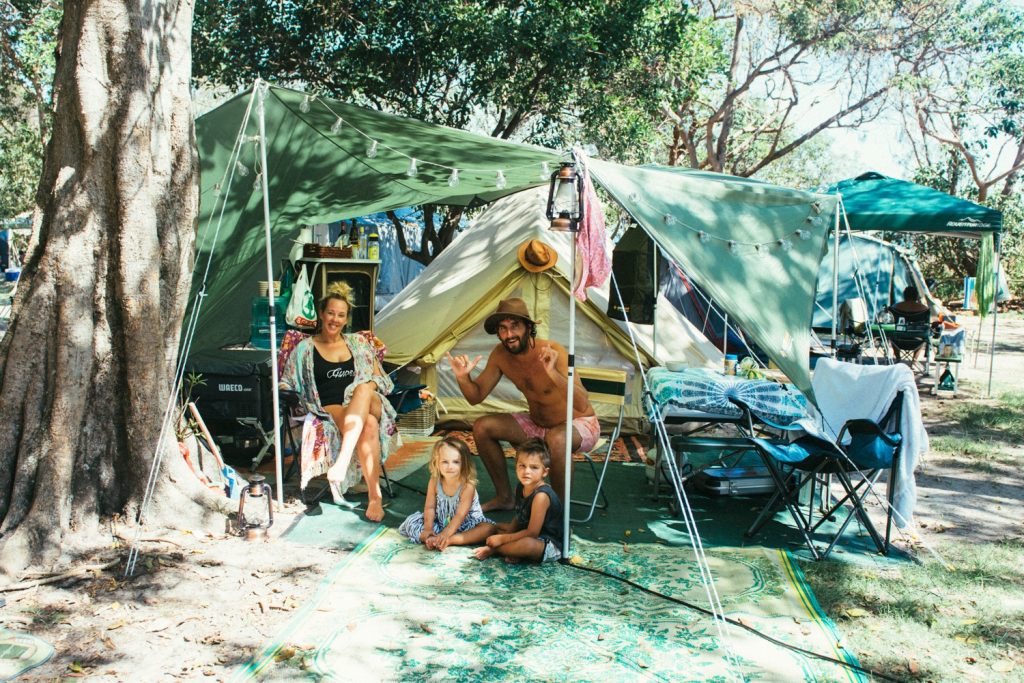
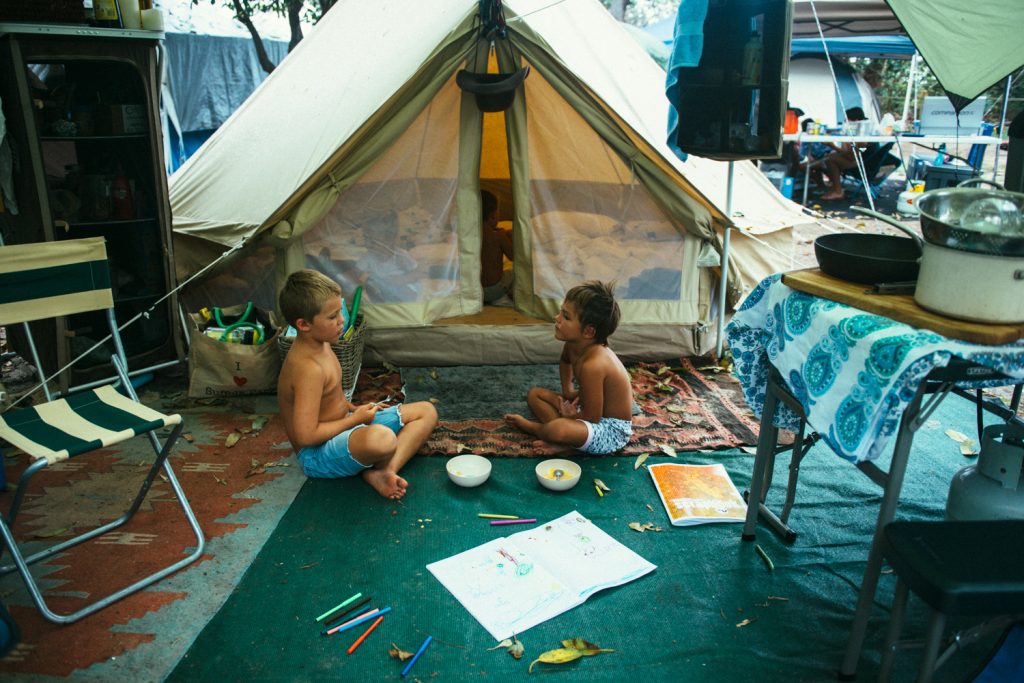
- THE BELL TENT. We chose a Bell Tent over a normal tent. I got mine from Breathe Bell Tents and went for the 4m Protech Bell Tent – Lucy was incredibly helpful and sent lots of great pics so I could see all the details of the tents. As I said it arrived very quickly too. What we found was that there were pros and cons to choosing a Bell over a normal tent; Pro’s were: it looks gorgeous, was wonderfully breathable because we chose the tent that allows you to lift the bottom panel and have fresh air entering through mesh netting. Cons: They are heavy which may be a deterrent if you were carrying into a festival. The liftable, breathable walls were great but it took a while to unzip the mesh and re-attach the canvas walls which meant if a down pour hit unannounced you might get caught in the rain, also because we chose a 4m Bell (rather than a 5m) it had slightly less head room at the entrance which meant you had to duck in when entering – but over all was such a lovely place to hang out. We loved ours and I recommend them for sure.
- TARP VS POP-UP. We chose a tarp over a pop-up annex, it was kind of annoying to put up but once it was up it gave this kind of gorgeous asymmetric personality to our campsite. It was kind of clunky but in a taj mahal kind of way! It was probably the reason people kept coming up and calling us the Taj Mahal of campsights, it just looked so quirky and cool. Part of me wanted a pop-up tent because everyone else was putting theirs up and drinking a beer under it in like 2 minutes, but in the end ours looked so bloody adorable we have decided not to replace with a pop-up.
- SOLAR. So… now my husband is obsesssssed with solar. We purchased a solar panel + battery set up which allowed us to have a plug in camping fridge (very handy for excellent, fresh camping fare) but more importantly allowed me to use plug in LED festoon lights. If you decide to go down this path you’ll need a camping solar panel, a battery box / and deep cycle battery, as well as a fridge (we chose this one). It’s a bit of an outlay (for us it was a total but we just drove Byron to Newcastle this weekend and used the cold fridge the whole way. And my husband is committed to getting completely off the grid so it was, in his words, an investment in our future, hehe… Though pretty funny when you’re stopping for a roadside lunch break and you look around and your husband is pulling out his solar panel to get some sun… Very National Lampoons Vacation.
- LIGHTING PLAN: So you’ll need one of those plastic storage containers and it should be full of lighting options. We obviously had the solar powered plug in LED festoon lights but also other options too. Spelly had the battery operated festoon lights from Typo (here) which were still really gorgeous though quite a bit dimmer and probably didn’t give enough light to actually cook by, though looked nice strung up. If you’re using battery operated lights don’t use ‘rechargeable batteries’ because they’re just too weak to light them up properly. Other lighting that was great was those flameless battery operated wax candles we picked up from a camping store. Tip: keep them out of the sun because they’re real wax and can melt in high heats which can happen when you’re camping in Summer! I also used battery-operated fairy lights twisted around the middle bell tent pole (available here), a gorgeous effect, these ones were the best and VERY bright and ran on x3 AAA batteries! And we had some inflatable solar lights like this too, very durable and the kids loved throwing them around.
- FLOORING. Flooring we chose was that dark green mesh shade cloth you can get from Bunnings, it meant a lot of the dirt just fell through and was easy to sweep. Best thing ever. It was about 4x4m and came in a carry bag. We also brought one of our ‘kids carpets’ (from Ikea here) which was perfect for dropping a whole bag of lego on for the kids. Those recycled Eco-friendly plastic fold up mats are also epic, you can get some at Fab Habitat.
- What to bring. Bring a door mat, nice throw to use as a table cloth, a few small Tupperware containers for left overs, clothes washing powder, dishwashing stuff. Also found some cool check lists on pinterest like this one. And a few camping hacks like these.
- A Chuck Box (below). Ok, so we didn’t get one of these but MAN it was the coolest thing I found on pinterest. I guess they originated when people out at war would ‘chuck all their kitchen stuff in a box’ I mean, obviously. I am seriously considering buying one when in the USA and bringing it back with us as oversized luggage. How cute is it?!! If you’re in the USA you can buy this epic one called ‘The Outdoorsman” here, or get your DIY on and make your own here.
Images via HiConsumption


A big thank you to our guest blogger Elizabeth Abegg
Photography by Johnny Abegg | Styling and words Elizabeth Abegg.