How to Pitch a Bell Tent Properly: A Step-by-Step Guide

One of the great joys of owning a bell tent is how simple they are to pitch.
Despite their impressive size and luxurious appearance, most bell tents can be set up by one or two people in less than 30 minutes. With a little practice, you’ll soon find that pitching your bell tent becomes second nature.
A properly pitched bell tent not only looks beautiful but also performs better in wind and rain, extends the life of the canvas, and creates a more comfortable camping experience.
Whether you’ve just purchased your first bell tent or you’re looking to perfect your setup technique, here’s our step-by-step guide.

Why Proper Pitching Matters
A well-pitched bell tent:
- Sheds rain more effectively
- Handles wind better
- Reduces stress on the canvas and seams
- Improves ventilation
- Helps prevent pooling water
- Creates more usable internal space
- Extends the lifespan of your tent
Many issues that campers experience can often be traced back to incorrect pitching rather than a problem with the tent itself.

Step 1: Choose the Right Campsite
Before unpacking your tent, spend a few minutes selecting the best possible location.
Look for:
- Flat, level ground
- Well-drained soil
- Areas free from sharp rocks and sticks
- Natural shelter from strong winds
- A site that won’t collect water during heavy rain
Avoid low-lying areas where water may pool overnight.
If camping in windy conditions, position the tent in a sheltered location where possible.

Step 2: Lay Out the Groundsheet
Unpack your bell tent and spread the groundsheet flat on the ground.
Take a moment to ensure the groundsheet is fully extended and sitting evenly before you begin pegging.
The circular shape should be smooth and symmetrical.
Step 3: Peg the Four Main Points
Most bell tents are easiest to pitch by first pegging the four cardinal points:
- Front
- Back
- Left side
- Right side
Start with the front door position and then peg the opposite side.
Next peg the two side points.
This creates a balanced foundation and helps maintain the tent’s circular shape.
Avoid pulling the groundsheet excessively tight at this stage.

Step 4: Peg Around the Entire Base
Work your way around the tent, pegging each groundsheet loop.
Keep the spacing even and maintain the circular shape.
The tent should be taut enough to hold its form but not stretched excessively.
Proper tension now will make raising the tent much easier.
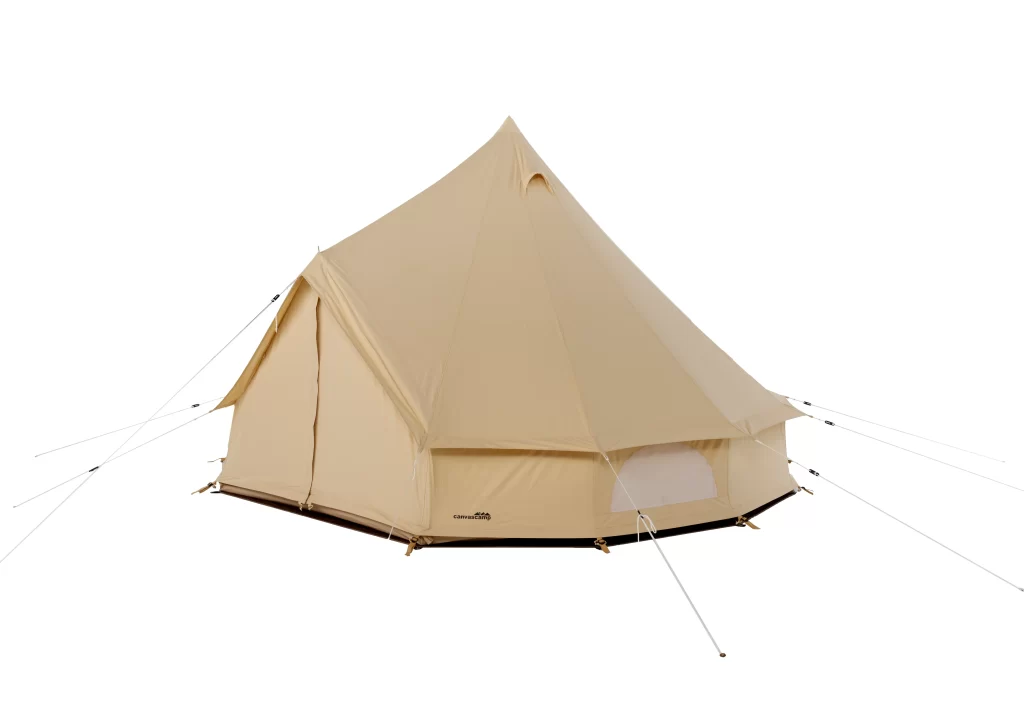
Step 5: Assemble and Insert the Centre Pole
Locate the centre pole and assemble it fully.
Enter the tent and position the bottom of the pole into the reinforced centre cup on the groundsheet.
Raise the pole carefully until the tent begins to stand.
This is usually the moment when your bell tent starts to come to life.
Once raised, check that the pole is sitting securely and vertically.
Screenshot
Step 6: Install the A-Frame Door Pole
Next, assemble the A-frame door pole.
Position it beneath the doorway and insert the ends into the reinforced fittings provided.
The door should now stand upright and operate smoothly.
Check that the zip closes without excessive tension.
If the door zip feels strained, you may need to slightly adjust some of the perimeter pegs.
Step 7: Peg Out the Guy Ropes
Now it’s time to secure the guy ropes.
Work around the tent evenly, pegging each guy rope at approximately a 45-degree angle away from the tent.
Guy ropes are critical because they:
- Improve stability
- Help maintain canvas tension
- Increase wind resistance
- Reduce wear on the fabric
Do not skip guy ropes, even in calm weather.
They are an important part of the tent’s structure.
Screenshot
Step 8: Tension Everything Correctly
Walk around the tent and adjust the guy ropes so the canvas sits evenly.
The walls should be smooth and wrinkle-free without being overstretched.
Look for:
- A symmetrical shape
- Even roof tension
- Smooth sidewalls
- A vertical centre pole
The tent should feel firm but not overly tight.
Canvas naturally settles after pitching.
Step 9: Re-Tension After a Few Hours
One of the most common mistakes new owners make is forgetting to re-tension their tent.
Canvas is a natural fibre and may relax slightly after setup.
After a few hours—or the following morning—walk around the tent and make small adjustments to the guy ropes if needed.
This simple step helps maintain the tent’s shape and weather resistance.
Screenshot
Seasoning Your Bell Tent
If your bell tent is brand new, we strongly recommend seasoning it before your first major camping trip.
Seasoning allows the canvas fibres to swell and the stitching holes to seal naturally.
This process helps improve waterproof performance and is a traditional part of owning a quality canvas tent.
Read our guide:
How to Season a Bell Tent or Sibley Tent Properly
Common Pitching Mistakes to Avoid
Over-Tightening the Canvas
Tighter isn’t always better.
Excessive tension can place unnecessary stress on zips, seams and guy points.
Skipping Guy Ropes
Every guy rope contributes to the tent’s strength and stability.
Pitching on Poor Ground
Avoid rocky, uneven or waterlogged sites whenever possible.
Ignoring Re-Tensioning
Canvas naturally moves and settles. A quick adjustment can make a big difference.
![]()
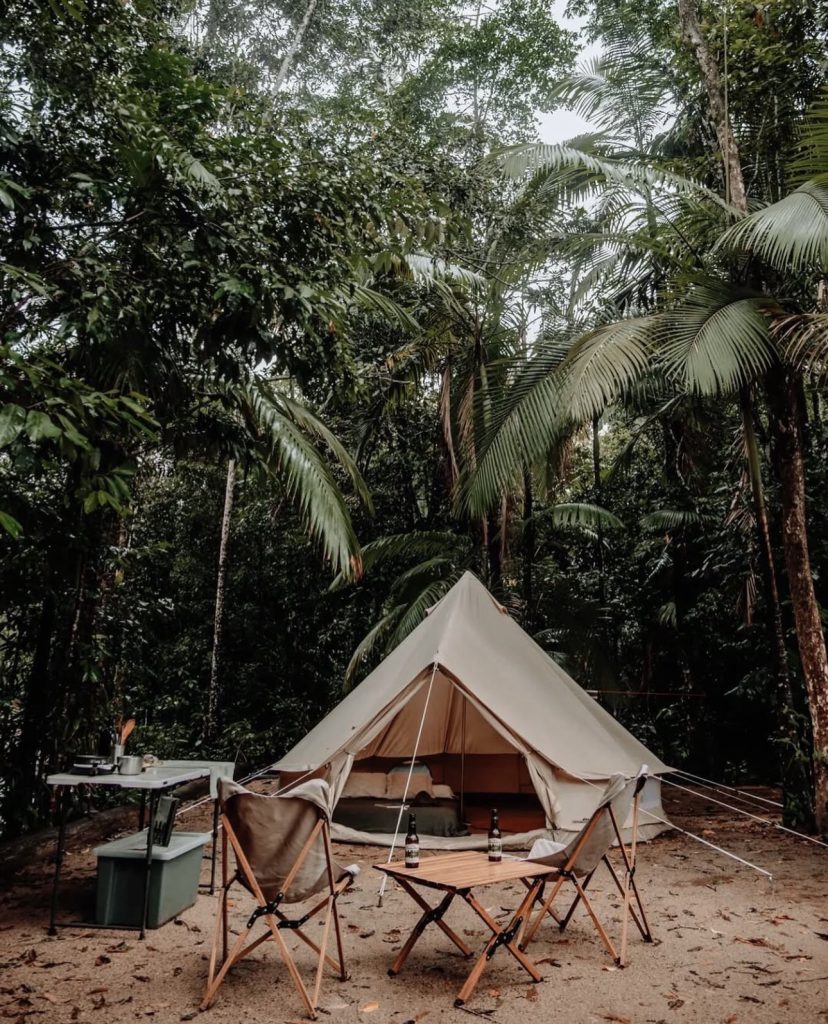
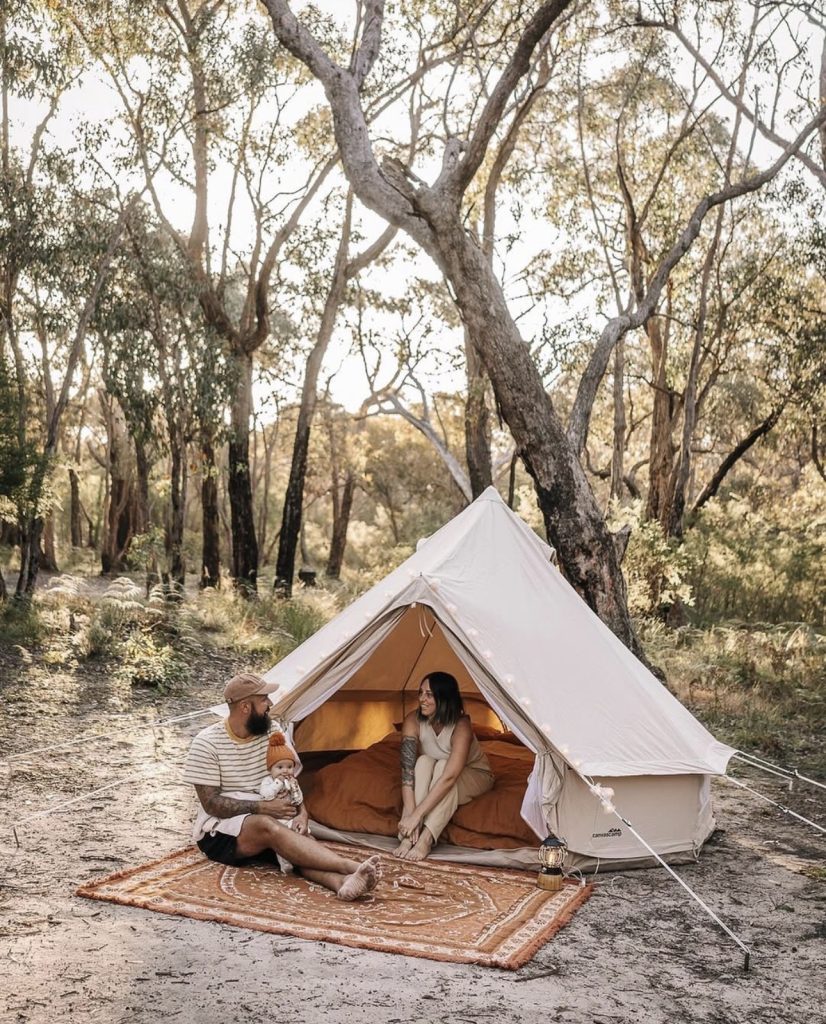
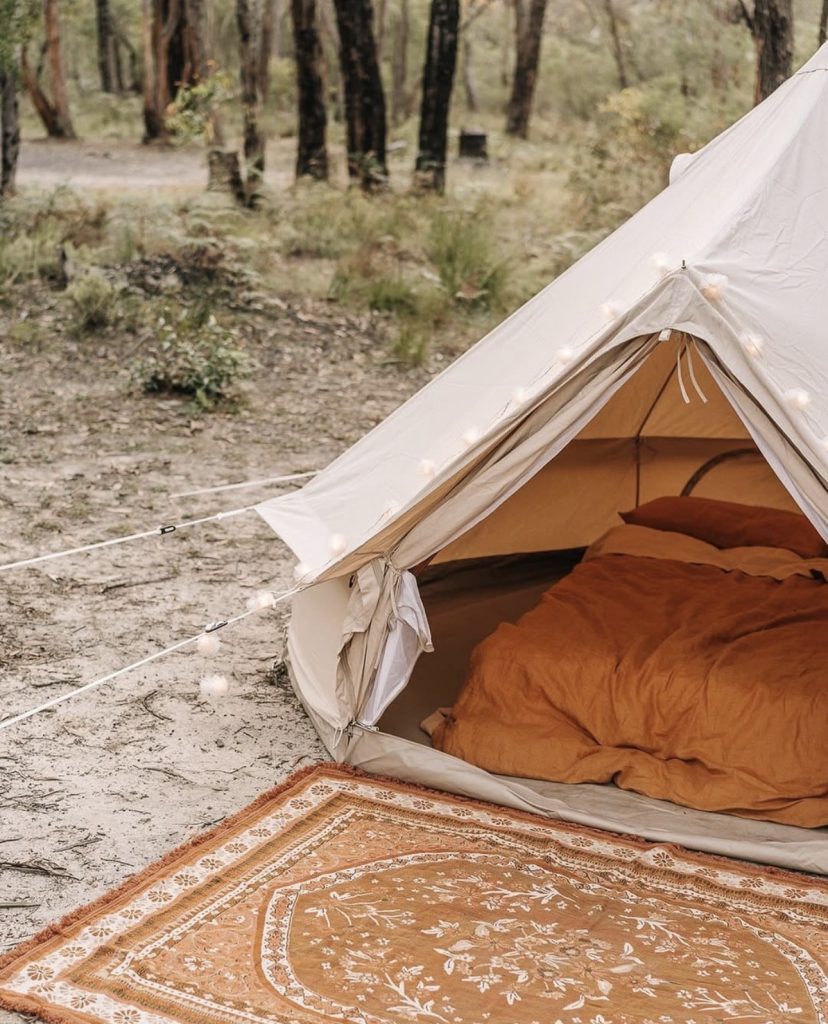
The Beauty of Bell Tent Camping
One of the reasons bell tents have remained popular for over 160 years is their simplicity.
With just a centre pole, an A-frame doorway and a circular layout, they create a spacious, comfortable shelter that can be pitched quickly and reliably almost anywhere.
After a few setups, most owners find they can pitch their bell tent confidently and efficiently, leaving more time to enjoy what camping is all about.
Whether you’re heading to the beach, the bush, a music festival or a glamping retreat, a properly pitched bell tent provides a comfortable home away from home.
Further Reading
To get the most from your bell tent, you may also enjoy:
- How to Season a Bell Tent or Sibley Tent Properly
- Bell Tents in Windy Weather: How Canvas Tents Handle Wind Better Than You Might Think
- How to Prevent Mould in a Canvas Tent
- Why an Inner Tent Can Transform Your Bell Tent Experience
- Winter Camping in a Bell Tent: The Beauty of Hot Tenting
- Bell Tent Protectors: Why More Campers Are Turning to Roof Covers