How to Pitch a Bell Tent Properly: A Step-by-Step Guide

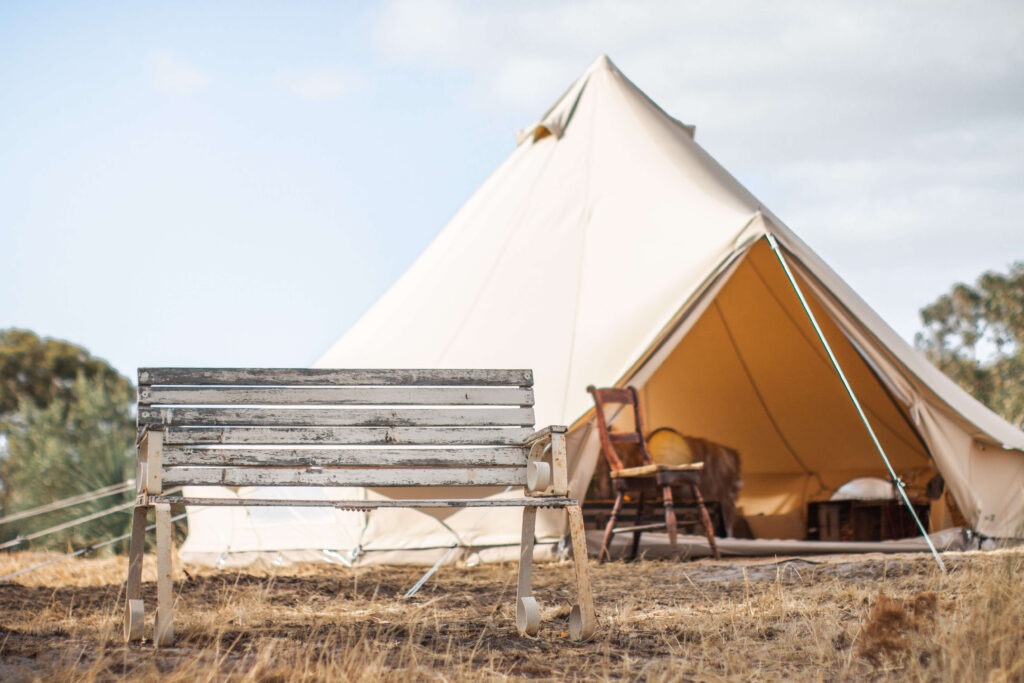 One of the greatest advantages of a canvas bell tent is its beautifully simple design. Unlike many modern camping tents with dozens of poles and complicated instructions, a traditional bell tent can be pitched quickly and easily using just a centre pole, an A-frame doorway and evenly tensioned guy ropes.
Whether you’ve just purchased your first bell tent or simply want to ensure you’re getting the best performance from your canvas, this guide will walk you through the correct setup process.
Before You Begin
Before unpacking your tent, choose a suitable campsite.
Look for:
- Flat, level ground
- Good drainage (avoid hollows where water may collect)
- Clear of sharp rocks, sticks or branches
- Enough room for the tent and guy ropes (approximately one metre beyond the tent’s diameter)
If you’re camping for several days, consider where the sun rises and sets, prevailing winds, and any nearby trees.
Step 1: Lay Out the Groundsheet
Unpack the tent and spread the groundsheet out flat.
Position the doorway exactly where you would like it before you begin pegging.
A little extra care at this stage will save repositioning the entire tent later.
Step 2: Peg the Groundsheet
Insert the pegs through each pegging point around the perimeter of the groundsheet.
Work opposite sides progressively rather than going around in a complete circle. This helps keep the tent evenly shaped.
Do not over-tighten the pegs—just enough to hold the base securely.

Step 3: Assemble the Centre Pole
Assemble the centre pole according to the instructions.
From inside the tent, insert the top of the pole into the reinforced peak of the canvas.
Stand the pole upright.
The tent will immediately begin to take shape.
Step 4: Install the A-Frame Door Pole
Next, assemble the doorway A-frame.
Insert it into the doorway sleeve or fittings and raise the entrance.
At this stage your tent is standing but will still require tensioning.

Step 5: Peg the Guy Ropes
Working your way evenly around the tent, peg each guy rope approximately 45 degrees away from the tent.
Avoid pulling one side fully tight before moving to the next.
Instead:
- Lightly tension each rope.
- Move to the opposite side.
- Continue working evenly around the tent.
This creates a perfectly balanced pitch.
Step 6: Tension the Canvas
Once every guy rope is pegged, begin tightening each rope gradually.
The canvas should feel firm but never overstretched.
Over-tightening places unnecessary stress on the seams, while loose canvas can flap in windy conditions.
A properly pitched bell tent should have:
- Smooth side walls
- Even roof panels
- Minimal wrinkles
- A firm but natural tension

Step 7: Check Ventilation
Open the roof vents and lower ventilation flaps where appropriate.
Canvas naturally breathes, but good airflow helps minimise condensation and keeps the interior comfortable.
After a Few Hours…
Natural cotton canvas may relax slightly after the first few hours, particularly if it is warm or damp.
This is completely normal.
Simply walk around the tent and give each guy rope a small adjustment until the canvas is taut again.
Many experienced campers perform a quick tension check each morning during longer trips.
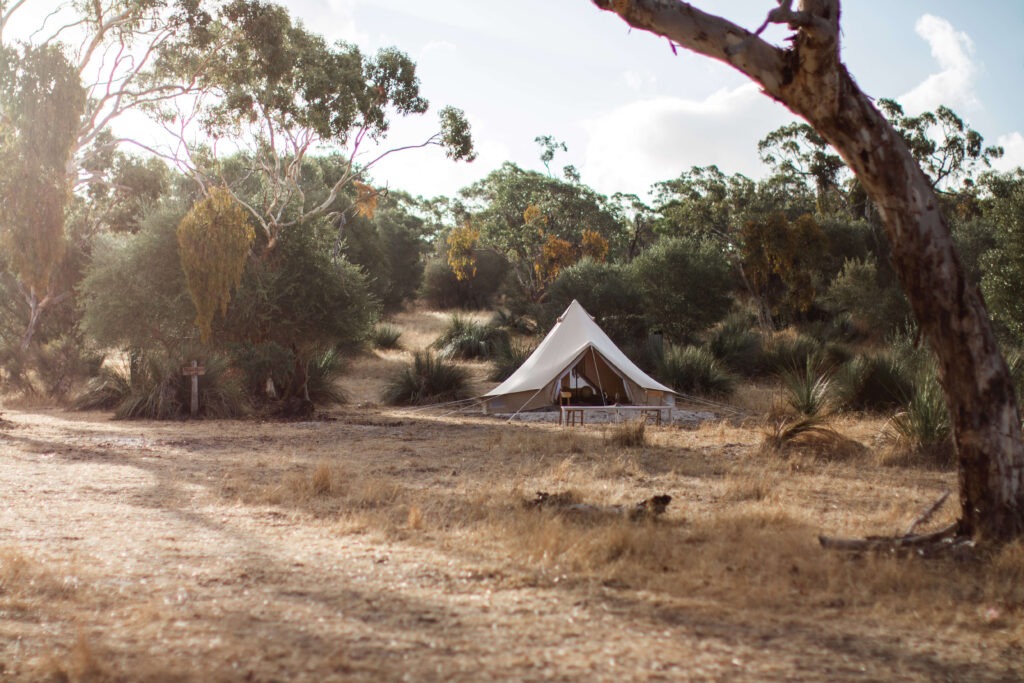
Pitching on Different Surfaces
Grass
The easiest surface to pitch on.
Use the supplied pegs and ensure they are fully driven into firm ground.
Sand
Use longer sand pegs or bury deadman anchors for additional holding power.
Gravel
Heavy-duty pegs generally work well in compacted gravel.
Concrete or Hard Surfaces
Bell tents can still be erected using ballast weights, weighted anchors or other suitable fixing systems where pegging isn’t possible.
This method is commonly used for exhibitions, weddings, events and indoor installations.

Wind Tips
If windy weather is expected:
- Face the doorway away from the prevailing wind where possible.
- Ensure every guy rope is secured.
- Recheck tension regularly.
- Remove unnecessary awnings during strong winds.
- Never leave your tent unattended during severe weather warnings.
A correctly tensioned bell tent will always perform better than one with loose canvas.
Caring for Your Canvas
Never pack your bell tent away while wet for extended periods.
Allow the canvas to dry completely before storage to prevent mould and mildew.
If your tent is new, remember that cotton canvas naturally seasons during its first few uses, improving its weather resistance over time.

Why Bell Tents Are So Easy to Pitch
Despite their generous size, bell tents remain one of the easiest large canvas tents to erect.
Their elegant design has remained largely unchanged for more than 150 years because it simply works.
With only a handful of structural components and a logical setup process, most campers become confident pitching their tent after just one or two uses.
Once familiar with the process, many owners can have their bell tent fully pitched in around 15–30 minutes.
Need Help?
At Breathe Bell Tents Australia, we’re always happy to help with setup advice, replacement parts, or choosing the right accessories to make camping even easier.
Whether you’re pitching for a weekend getaway, a family holiday or a long-term glamping site, a correctly pitched bell tent will reward you with years of comfortable camping.
Related Reading
- The Complete Bell Tent Buying Guide
- What Size Bell Tent Should I Buy?
- How Much Space Do I Need to Pitch a Bell Tent?
- Are Bell Tents Easy to Erect?
- Can I Pitch a Bell Tent in My Backyard?
- Can I Pitch a Bell Tent on Concrete or Hard Ground?
- Can I Camp in Winter with a Bell Tent?
- How Long Will a Canvas Bell Tent Last?